DIY: Hack a rotating time-lapse tripod
There's something about time-lapse videos that grabs your attention a little more than your average YouTube video. Especially popular on Vimeo, these videos often capture scenes like a starry night, a cityscape, or snow piling up over the course of a particularly rough storm.
Sometimes, the camera stays in one spot, monitoring a scene from just one angle. But the most beautiful time lapses involve movement -- the camera pans across the scene over the course of an hour (or longer) to capture change over time on a 360-degree angle.
It sounds complicated. Like, too much work. But, the reality is that it takes no more than 10 minutes to put together a rotating tripod made just for time lapse shooting.
With this setup, what we produced wasn't as alluring as a time-lapsed starry sky, but a pretty cool video of time passing and skies changing at a busy San Francisco corner:
Shooting a time-lapse video is as easy as setting up your camera (or phone) to shoot in intervals, and sticking it on a tripod. But to capture a 360-degree angle, you'll need a rotating tripod accessory.
You can purchase one of these attachments for around $40, but fuggetabout that -- you can do it yourself for much less. Here's how.
You'll need:
- Flat-topped windup kitchen timer, like Ikea's Ordning timer
- 1/4-inch nut
- Strong adhesive, like rubber cement
- Blu-Tack or any generic, moldable museum putty
- Basic tripod (even a Gorillapod would work here)
1. With the rubber cement (or other adhesive), adhere the 1/4-inch nut to the bottom of the timer, making sure to center it. Follow the adhesive's instructions, and let it dry completely before moving onto the next step.
2. Once it's dry, attach the timer to the tripod or tripod mount. All tripods attach to cameras with a standard 1/4-inch bolt, so the timer should work with any model.
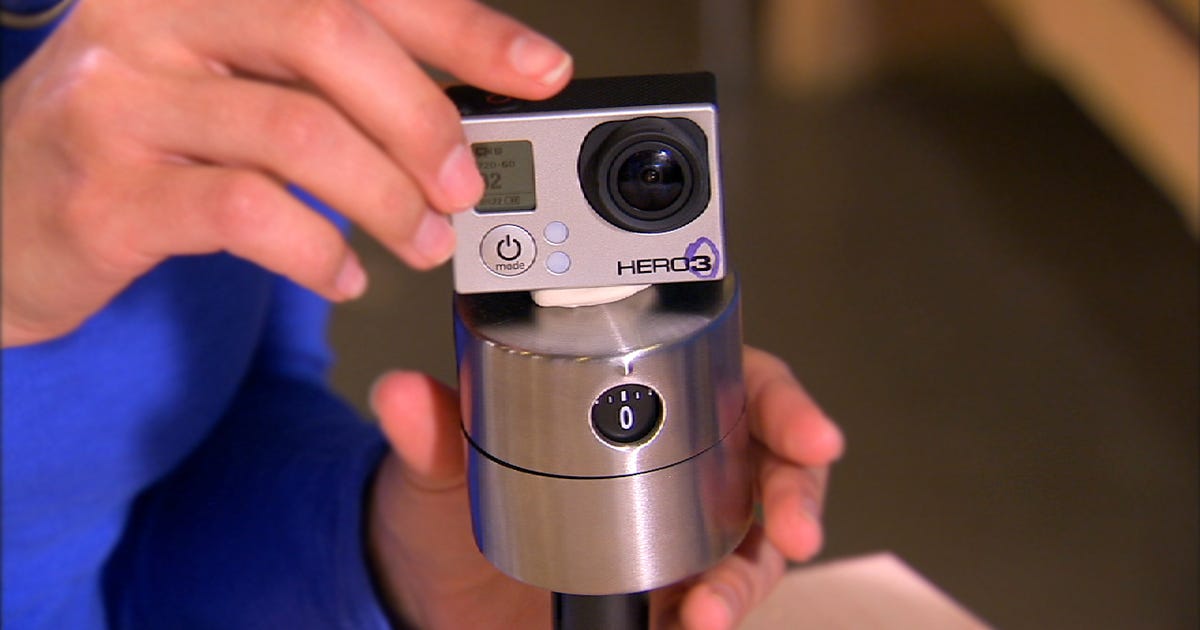
3. This is the part that will vary depending on the camera -- it might take some tinkering. Prepare the museum putty or Blu-Tack according the the package instructions. Then, attach the camera to the top surface of the timer.
4. If your camera has a flat bottom, like a GoPro, dSLR, or any other point-and-shoot, this part's easy. But, if you're securing a phone to the timer, it's a little trickier. It's doable, but take the time to ensure the phone won't budge before moving forward.
At this point, your time lapse tripod is set, and you're ready to record! Watch the video above to find out how easily we recorded and edited a time-lapse video with our DIY rotating tripod.
Source
Tags:
- Diy Hack A Rotating Time Lapse Tripod Head
- Diy Hack A Rotating Merry Go Round
- Diy Hack Attack
- Diy Auto Repair
- Diy Air Conditioner
- Diy Hack Change My Generator To Propane
- Youtube Diy Hacks


